


Have you tried making your own sourdough?
I feel like most of us can appreciate how aesthetically pleasing a freshly baked sourdough loaf looks, but can we also agree that baking homemade sourdough requires A LOT of commitment? I don’t know about you, but the idea of having to take care of something else, in addition to everything else I have on my plate as a mom, just feels really overwhelming most days.
But FOMO is definitely a thing – and I decided that occasionally, I would like to try to bake my own homemade bread. So I scoured the internet looking for a recipe that didn’t require any “feeding” or “kneading”; basically, I was looking for anything that didn’t require me having to babysit dough, and I quickly found one, thanks to the Pinterest gods.
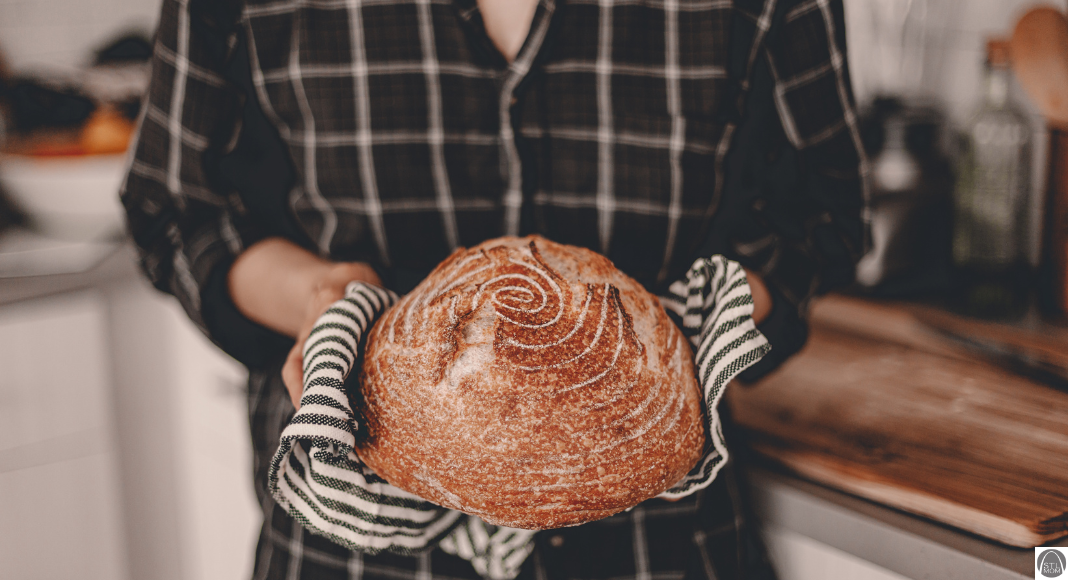
I’ve made the recipe I’m going to share multiple times now, and it is so easy! Every time I’ve made it, I’ve gotten an aesthetically pleasing artisan loaf that could even give sourdough a run for its money. This bread is soft on the inside, but has that crunchy, golden crust that I was craving – and not just for my Instagram story.
The best part? You really don’t need any special ingredients. I don’t even use bread flour – I’m talking store-brand, all-purpose flour from Aldi. Actually, all of the other ingredients are from there, too – sugar, olive oil, yeast, and salt. But before this turns into an appreciation post for my favorite grocery store (anyone else part of the Aldi Aisle of Shame Facebook Group?), I will mention that you DO need one piece of specialty equipment – a 6-quart Dutch oven. You can find those locally at places like Walmart, Target, Marshalls or HomeGoods.
Ingredients
▢ 3 cups plain/all-purpose flour (or bread flour if you have it)
▢ 1 tablespoon white granulated sugar
▢ 2 teaspoons dried yeast, instant or rapid-rise
▢ 1 ½ teaspoons salt
▢ 1 ½ cups warm water
▢ 1 tablespoon olive oil
Equipment/Supplies
▢ Dutch Oven
▢ Large Bowl
▢ Parchment Paper
▢ Cooking spray
▢ Utensils – spoon, spatula, serrated knife
▢ Oven mitts
▢ Wire “cookie” rack or cutting board
Instructions
- Combine flour, sugar, yeast, and salt in a large bowl (I mixed/stirred everything together a few times with a fork).
- Add water and oil to your bowl (that already has the dry ingredients in it), mixing to
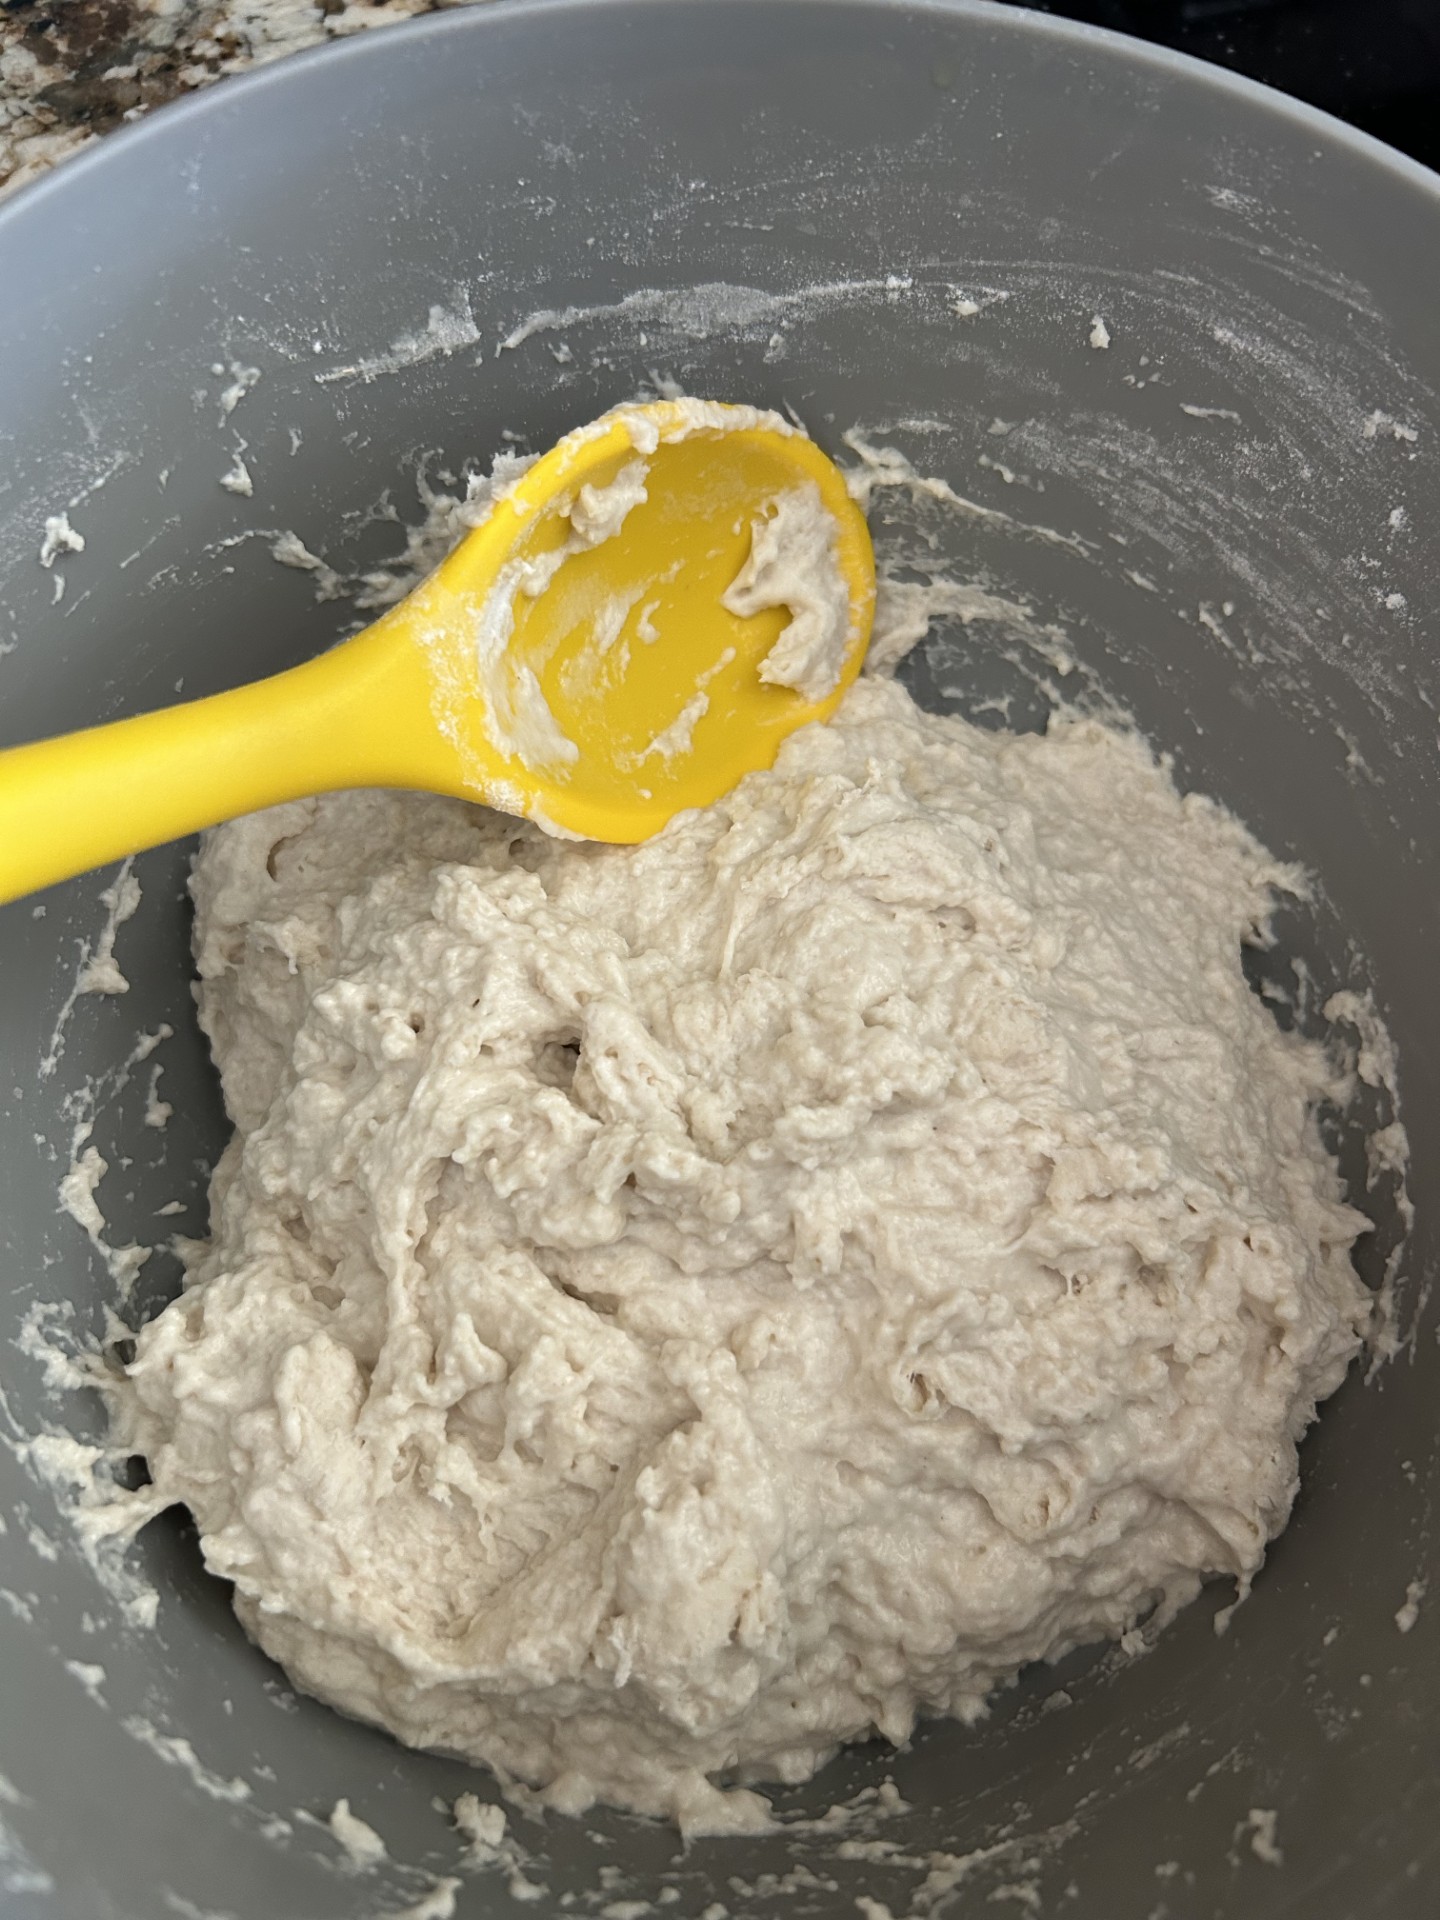 incorporate everything together. Dough will be wet, sticky and have a rough, lumpy texture (also known as “shaggy” if you’re down with bread lingo).
 - Lightly spray the top of the dough with cooking oil spray (I’ve used both a Canola Oil Spray and an Olive Oil Spray). Cover with plastic wrap and place a dry tea towel over the top.
- Leave in a warm, draft-free place for 2-3 hours until doubled in size. Dough will have a lot of little holes or bubbles and will be wobbly like jelly.
- Place a large (10-inch or 26cm) Dutch oven or heavy based pot in the oven with a lid. Preheat the oven to 450°F for 30 minutes before baking (remember, the Dutch oven should already be inside your actual oven for this step).
- While the oven is preheating, create a clean “workspace” on your counter – I try to use a safer/non-toxic cleaner, and then I let the area air dry, or I help the drying process along by wiping everything with a clean, dry towel. Once the “workspace” is dry, lightly (so you don’t need a lot) flour the area. You can also lightly flour a plastic/silicone spatula.
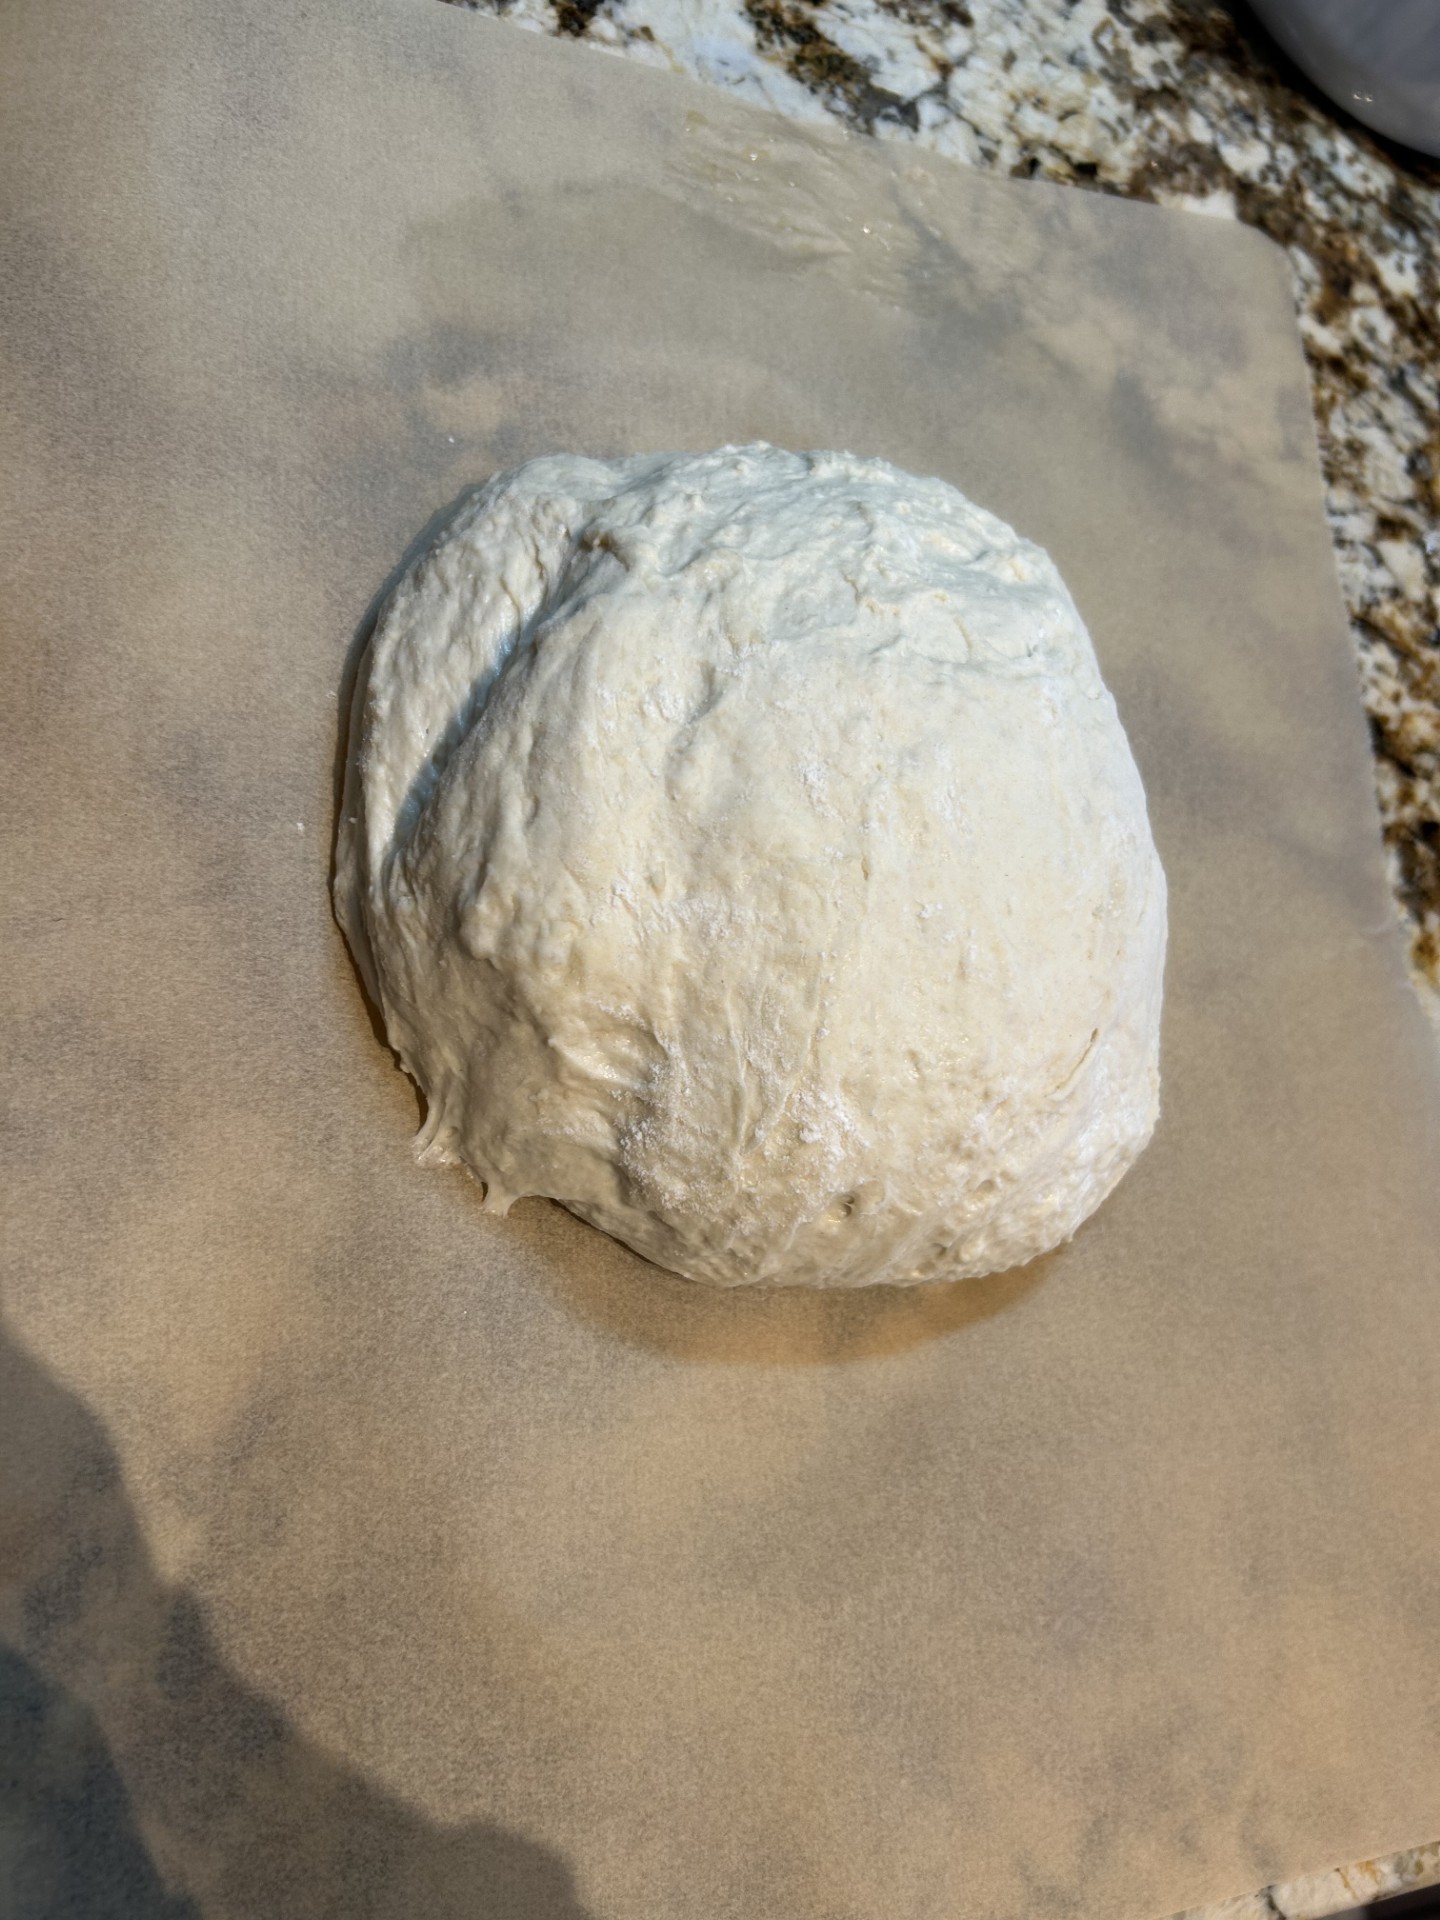
- Scrape your dough out of the bowl, onto the “workspace” with the spatula. Sprinkle the top of the dough with a large pinch of flour and fold it over on itself (about 5-6 folds). I use my hands for folding – but you could also use your spatula. Then, form your dough into a round shape – it can be rough, doesn’t have to be perfect!
- Measure out a large piece of parchment paper, large enough to place your dough on (you will end up placing the dough, while still on the parchment paper, inside the Dutch oven).
- Place your dough onto the parchment paper you’ve cut, smooth side up. Try to place your dough in the center of the paper, and reshape if needed (into a roundish shape). Let your dough “rest” on the parchment paper while your oven continues to preheat.
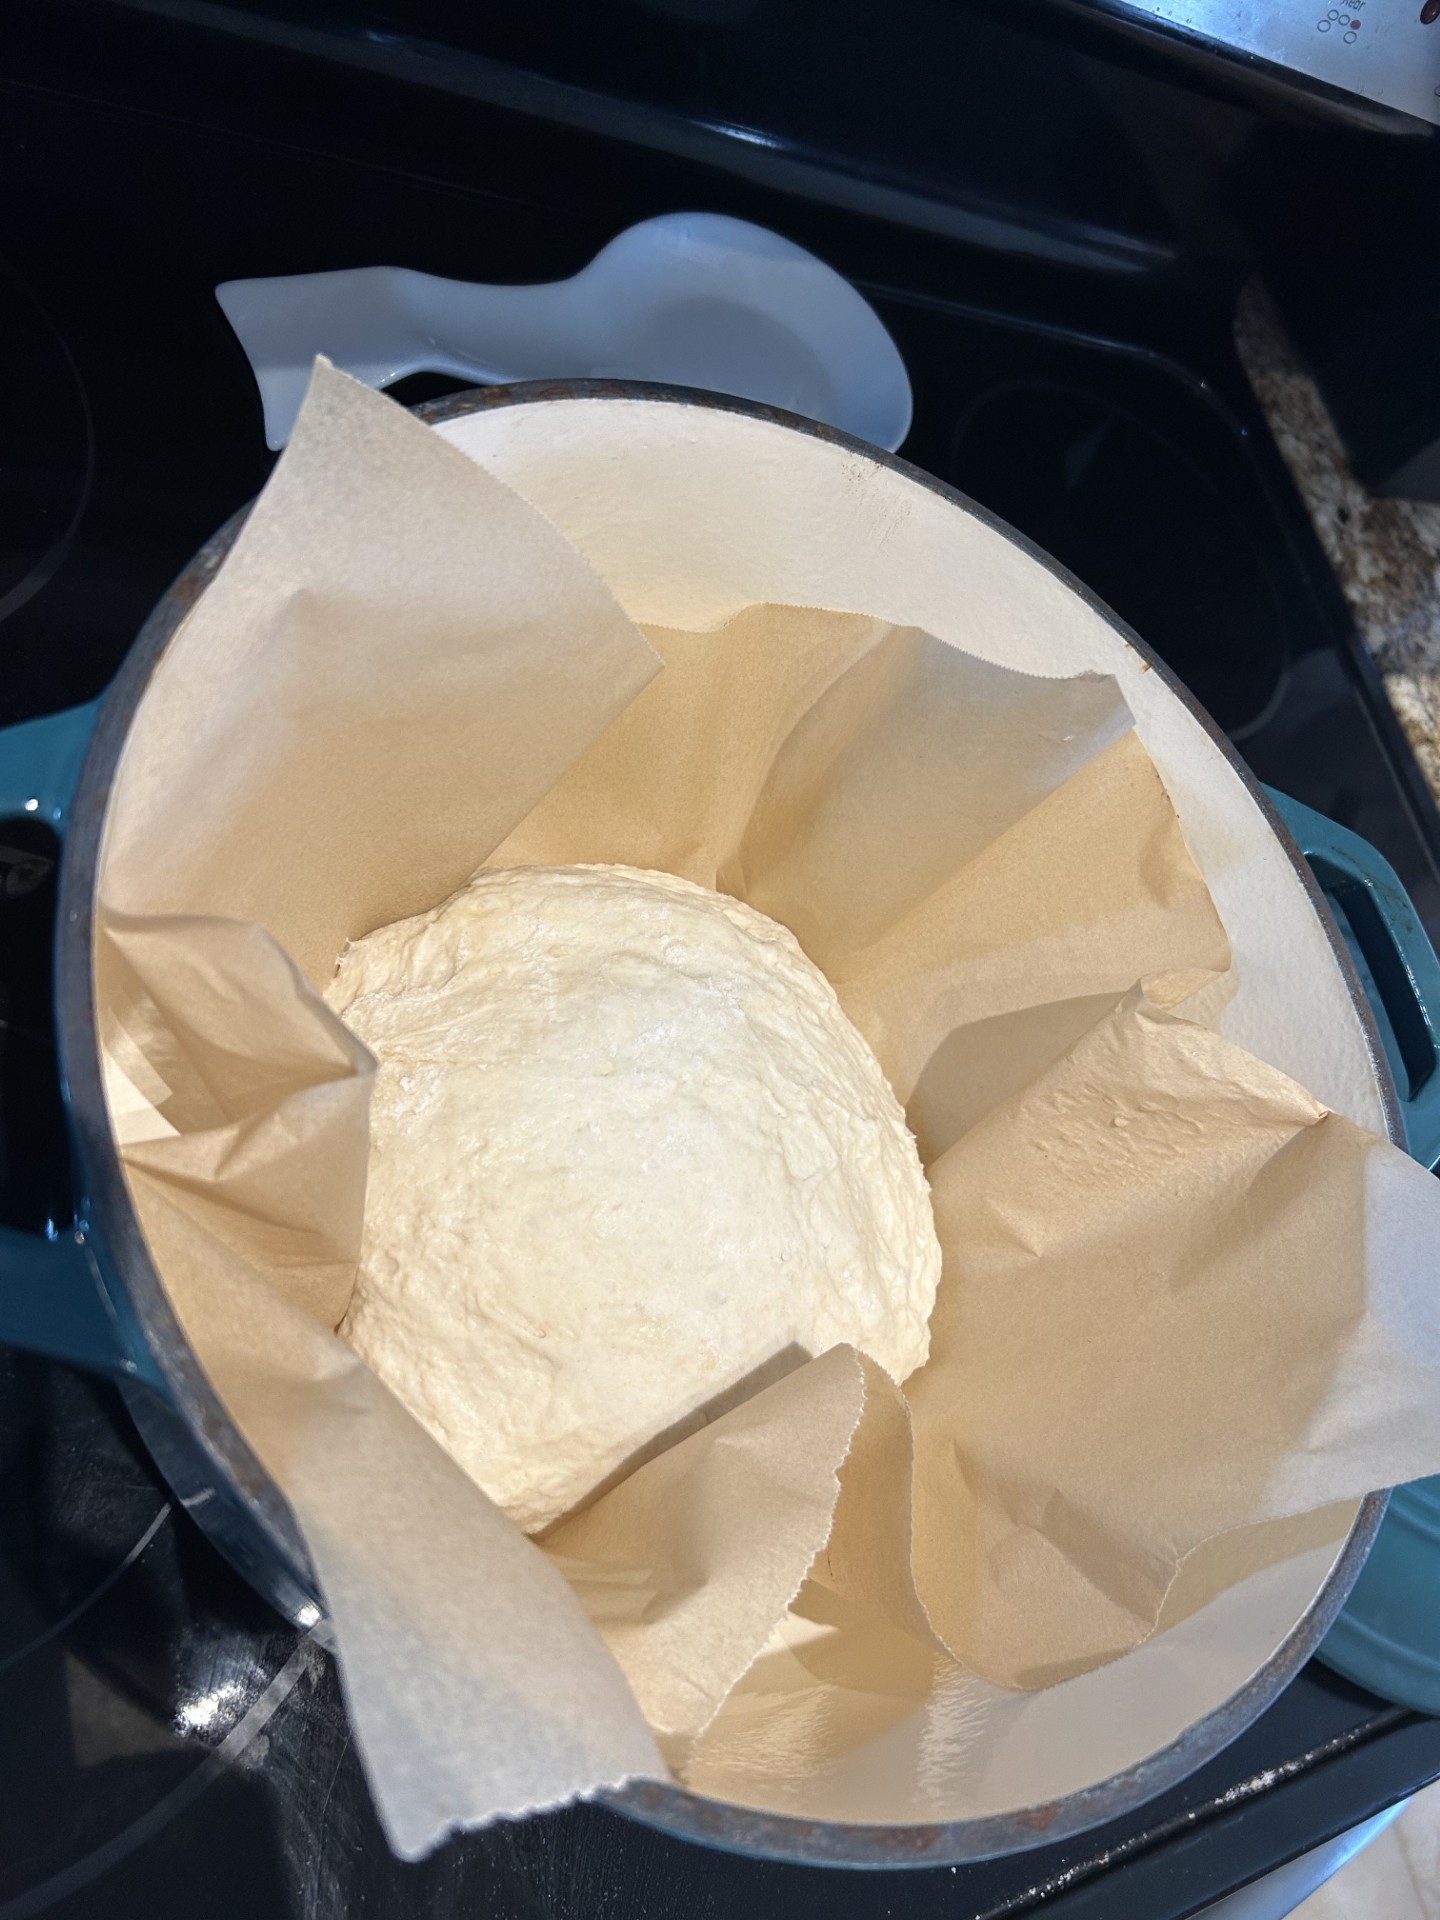
- Use oven mitts to carefully remove the hot Dutch oven from the oven. Place the Dutch oven on your stovetop, taking off the lid. Grab the parchment paper from each end to pick up the dough and transfer it into the Dutch oven.
- Cover the Dutch oven with the lid, and place everything back in the oven. Bake for 30 minutes, then remove the lid, and bake for an additional 10-15 minutes, until the loaf is beautifully golden-brown.
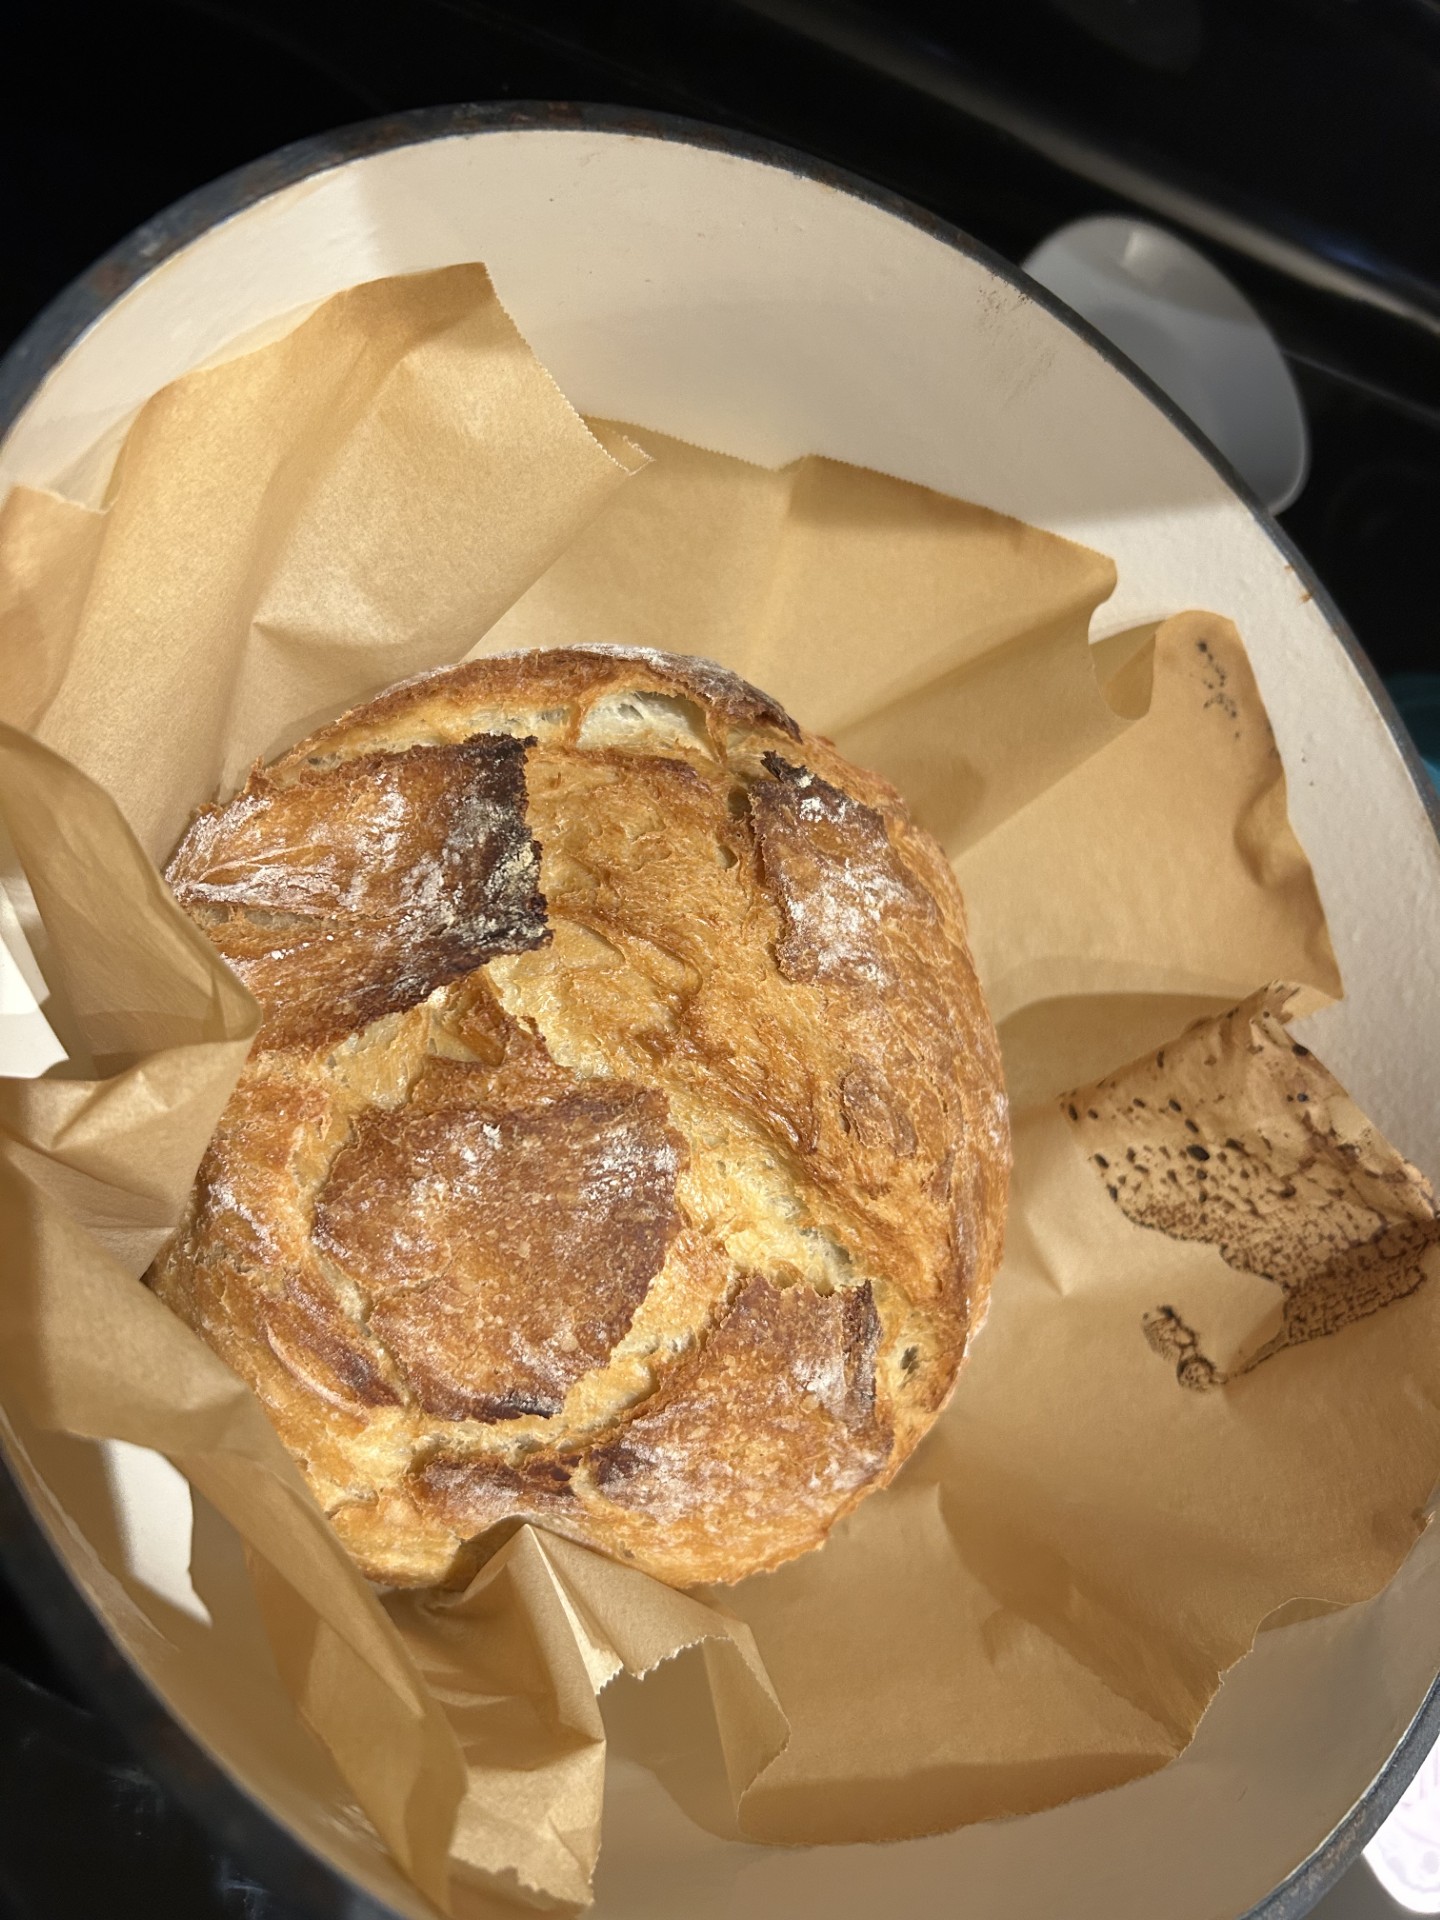
- Once you’re done baking, grab your oven mitts again, and remove your Dutch oven from the actual oven. Set it on your stovetop, and then transfer your freshly-baked bread to a wire “cookie” rack to cool for 10-15 minutes before slicing (if you don’t have a wire rack, you could use a cutting board instead).
- Take pics of your loaf before slicing because you are going to want to show this off! When you’re ready to slice your bread, I recommend using a serrated knife.


