I knew I wanted to paint our house the moment I saw it on Zillow. After we bought it, every time I drove up to it, I couldn’t get over the dated maroon and orange 90’s brick. Once we got through the main renovations inside (including limewashing our fireplace), we took to the outside. Armed with a power washer and a couple of giant buckets of limewash, we transformed it into a house that suited our style.
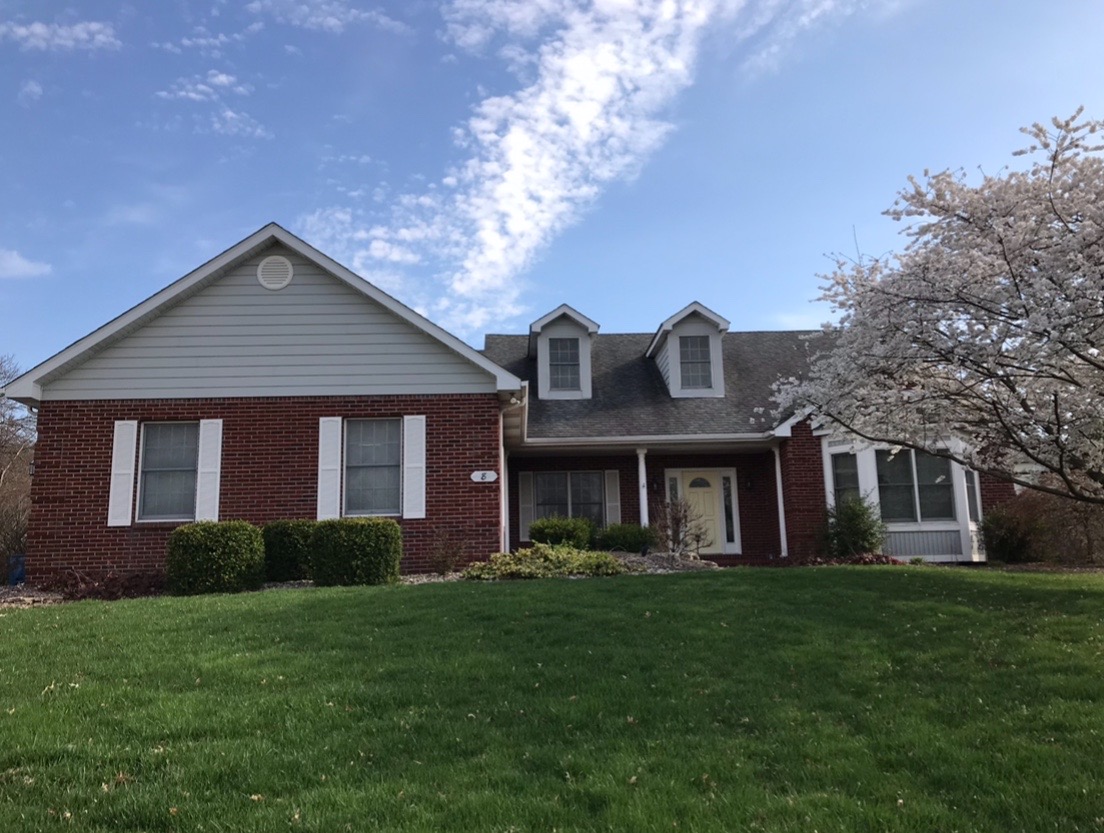
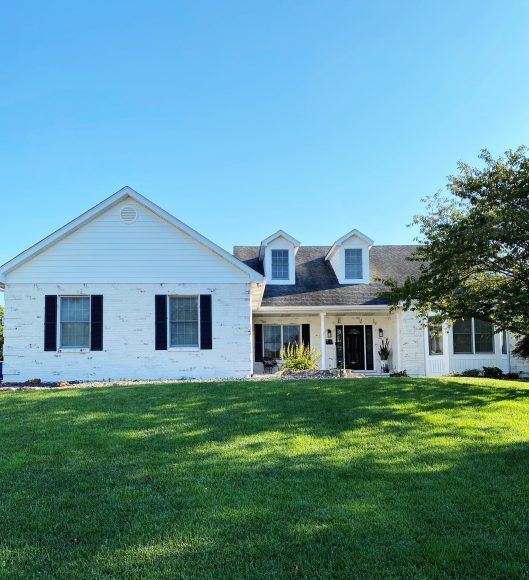
We used Romabio Limewash, which we got at Home Depot. We chose Romabio because it had a ton of reviews that said it was easy to use, only required one coat, didn’t need primer, would last at least five years before needing to be touched up, and was toxin-free and environmentally friendly. Unlike paint, the limewash still allows your brick to breathe, so it doesn’t damage the brick over time.
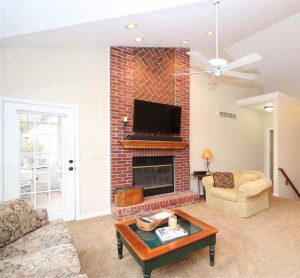
Color-wise, for our fireplace we went with the Bianco white since our walls are a pure white, and we wanted the fireplace to match. For the house, however, that would have been too bright, so we went with Avorio white. It took us two five-gallon buckets, a one-gallon bucket, and four days to do our house.
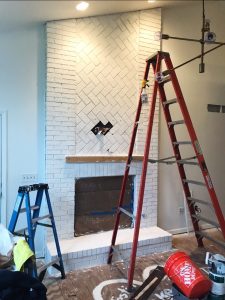
Next, we power washed the brick. (For the fireplace, we just scrubbed it with a cleaning brush and a bucket of water.)
After power washing, we chose our dilution rate. The limewash comes concentrated as a thick paste, and you must dilute the paste by adding water to get it to become a wash. For our fireplace, we used 50% dilution (or a ½ cup of water for every cup of lime wash), as we wanted a solid look to it. For our exterior, we went with a 100% dilution (or a one for one water to limewash ratio). We took an empty five-gallon bucket and started with 50% dilution. To mix the water and limewash, we used a drill with a painter paddle attachment (you can mix it by hand, but it will take an immense amount of arm strength to get it mixed). Once it became the consistency of slightly foamy whole milk, it was ready to go.
We tried a sample of that on the wall. Then went lighter and added half of the amount of water that we added the first time and mixed again to get 75% dilution for the second sample. Then added more water to get the 1 to 1 100% dilution for the third sample. Once we decided on dilution, we power-washed all the limewash samples off before starting again with the chosen mixture.
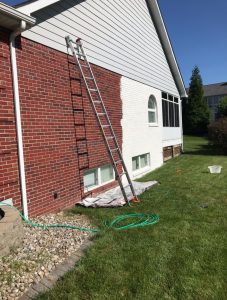
To apply the product, we worked in sections. We sprayed a section down with the hose (or spray bottle for inside) and then ran the brush up down and side to side to get into all the grout lines, making sure the wall stayed wet as we worked since it made the product go on much easier. That is what makes this a perfect project for fall not much heat to dry the brick out.
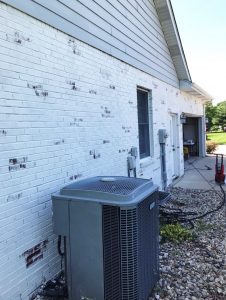
Once we finished an entire wall, we used the power washer to wash off sporadic bricks to give it that old-world look. This also helped to break up the white so that the house was not so glaringly bright.
Our house gets a lot of sun on the sides, so even with the distressing, it was pretty bright for the first six months or so, to the point I thought we should have gone with the Cristallo shade. Now, a year later, it has toned done a bit, and I love the shade it is now, and it will continue to patina, so I’m glad we went with the shade we did.
It’s now been a year since we finished our limewash, and we just got the siding painted, so now we love the outside of our house (and our neighbors do, too). Now it’s on to the landscaping!
Below are some tips we learned from our experience to help you in yours:
- Make sure you have absorbent brick. To do this, spray water on it. If the water absorbs into the brick, you are good to go. If the water forms droplets or sits on top of the surface, limewash will not work on your brick. Also know that if you have extruded brick with deeply recessed grout (like our fireplace was), your process is going to take a lot longer and be a lot harder since you are going to have to take a smaller brush to the grout lines to get the limewash in there.
- If you are doing your exterior brick buy the Romabio brush! When we did our fireplace, I thought $39.97 was a ridiculous price when I could just get a cheaper brush on Amazon. The cheaper brush took forever to apply the limewash. We upgraded for the exterior brick, and that brush was worth every single penny and then some. It made the application sooo much easier and faster.
- Cover or tape off anything you don’t want limewash on. If you have rock in your landscaping, cover it. We are eventually replacing ours, so we didn’t care.
- It is a lime substance, so you should wear goggles to protect your eyes from splatter. If you have sensitive skin, you will also want to wear gloves, as the splatters will leave your skin red, and it slightly burns.
- There are a lot of things online that say limewash is removable. It is, but only up to two days after it is applied. After that, it is on there, and even a power washer is not going to get it off.
- You will have to touch it up a lot more frequently if you are doing porch brick since it is not meant for high-touch areas. We had an edge of brick on our front porch, and it already needs to be touched up where everyone walks on it.


